We had a great time this Christmas working on our floors. Ha! We did take Christmas eve and day off so we could let our stain dry before we sealed them. Then we went to Utah.
Since we first started the house Levi and I have been loving light Scandinavian style floors. Our honeymoon in Norway sealed this obsession! I think it really brightens up the room... even in very old NOT modern houses. Here are some inspiration pics:


Figuring out how to get the look on red oak has been a long journey, however. In general you can stain followed by a water based poly (oil based poly's will yellow over time and ruin your finish, also, oil is usually very shiny and we wanted a flat natural finish) or use oil/wax finishes that are more natural but require more maintenance. I have done extensive research on EVERY option and here are my opinions...
This option:
(http://www.remodelista.com/posts/how-to-create-a-scandi-whitewashed-floor) involves first bleaching the floors with a special wood bleach and then staining with a light stain. From what I can tell this method is preferred for red oak because it will bleach the "pink-ness" out of the oak so the light stain ends up looking natural and greyish. The problem is the bleach will weaken the wood fibers and all hardwood floor refinishers recommend against this method for that reason. Since our floors are 100 years old and only 3/8 inch thick (usually they are 3/4 nowadays) we were worried about this method because we don't want to damage our wood floors. Also, the wood bleach opens the grain of the wood so it would probably need to be lightly sanded or buffed prior to staining.
Another option is to use the traditional swedish method which is to bleach the floors using a wood lye and then polish them with a white oil soap. One company that has these products is Woca. This is a penetrating oil finish that would need reapplication every few years. I liked the sound of this method, however, traditionally the swedes used fir because that is what they have. I didn't have much luck on my samples when I tried the lye- it didn't bleach the oak at all. I have also read that some people thought this method on red oak just made them look pink.
I also explored other options.... hardwax oils such as Rubio Monocoat. This is a wax that sits on top of the wood. It is low VOC and does need to be touched up every few years. It has less steps for installation- it is a one coat process that you buff into the floor. You can also do a two step process with "precolors" to get different looks. I have bought several samples from them and am going to try this in the kitchen on our white oak. I still felt that even the white Rubio products turned out kind of pinkish and I didn't love the finish on the red oak. I actually LOVE the feel of the wood with this product. And the product is very natural and smells kind of like beeswax, as opposed to the life-taking cancer-causing fumes we are used to around here. I do have to admit I was NOT impressed with their customer service..... I tried to order our products online but their website was not working. i called the company to order and the woman was insistent it must be my credit card... which I had used multiple times that day. She finally took my order and ended up sending us the wrong product. Thanks Rubio! We are just trying to give you money for your products! At this point I think I'm just going to use what they sent and be done with it. Rubio is still coming in way ahead of a competitor called Ciranova- we couldn't ever get ciranova to send us samples. Levi called multiple times and at one point the guy answering the phone was at home on his cell... was very strange. There were weird excuses like- UPS couldn't find your house. Ups brought the product back because it broke open and spilled. We have yet to see any samples arrive 6 months later. Is this a real company? I don't know.
And finally, here's what we ended up doing. I ran upon this blog post awhile back: http://materiadesigns.com/blogs/materia-designs-1/12876801-driftwood-pickled-and-whitewashed-floors-part-2
She used Benjamin Moore pale oak latex paint, diluted with water, painted on and wiped it off with rags. Then she sealed the floors with bona sealer. We did this but we used oil paint, diluted 1:1 with mineral spirits, did two coats stain and sealed with two coats Bona Naturale. I think it turned out really well. It is a teeny bit pink but I think once we get the walls done and furniture in there it will just look very natural .
Here are some things we learned:
1. If you have oak floors, don't be scared. Rent the belt sander. Those floors are the hardest thing in your house.
2. If you want to remove dust after you are finished sanding. use a DRY microfiber mop. Or mop the whole floor with water. But if you use a damp microfiber mop the places where the mop touched will pick up more stain (turns out putting water on wood to make it pick up stain is called "water popping) and it looks very streaky and you have to sand again.
3. Oil paint diluted with mineral spirits goes on smoother than latex for the first coat. The second coat was still kinda streaky so I'm not sure it was worth inhaling the fumes to get a smoother finish.
4. Bona Naturale- roll on with white dove rollers. Put lots on but not too much. If you don't put enough on you can see your roller lines. If you put too much on the finish will yellow. You and your husband will debate and critique each other's roller technique endlessly. There are some youtube vides.... some of them are in croatian.... Just keep rollin! ha.
5. If you buy the special bona rollers they do not fit on a regular paint roller. You have to buy the bona paint roller. You should chuck them into your trunk and drive around Paducah with fancy schmancy bona rollers for.... 6 months. Then buy some white dove rollers and call it a day.
Okay. So if you are tired of this freakin essay about our floors... just think about the fact that I do this much research for everything. I am wearing myself out. In fact I have no idea why I just wrote all of this. I guess if anyone is going for the same look in the future and stumbles upon my blog there is my opinion for all to see! And now for the pics!
 |
| First, we patched. And patched. And patched. |
 |
| New by the old |
 |
| Then we sanded |
 |
| And sanded. and sanded. and sanded. I sanded while listening to Serial podcast |
 |
| Here you can barely see the new wood at the bottom of the picture |
 |
| One coat of stain- looking good! |


They are not perfect. but pretty good for 100 year old floors! We think.
Other things... we have the guest bath upstairs almost done. The bathtub is done getting refinished. Getting it up the stairs was quite a job:
 |
| In the shop looking shiny and new. |
 |
| Starting up the stairs... |
 |
| More stairs.... |
 |
| Finally in place. With a cast iron skirt... I love it! |
 |
| Levi built a modern vanity |
 |
| First there was a medicine cabinet... |
 |
| Then there were lights... |
 |
| And a vanity box....This will have a marble top, a sink, and drawers that are custom built to fit around the plumbing. |
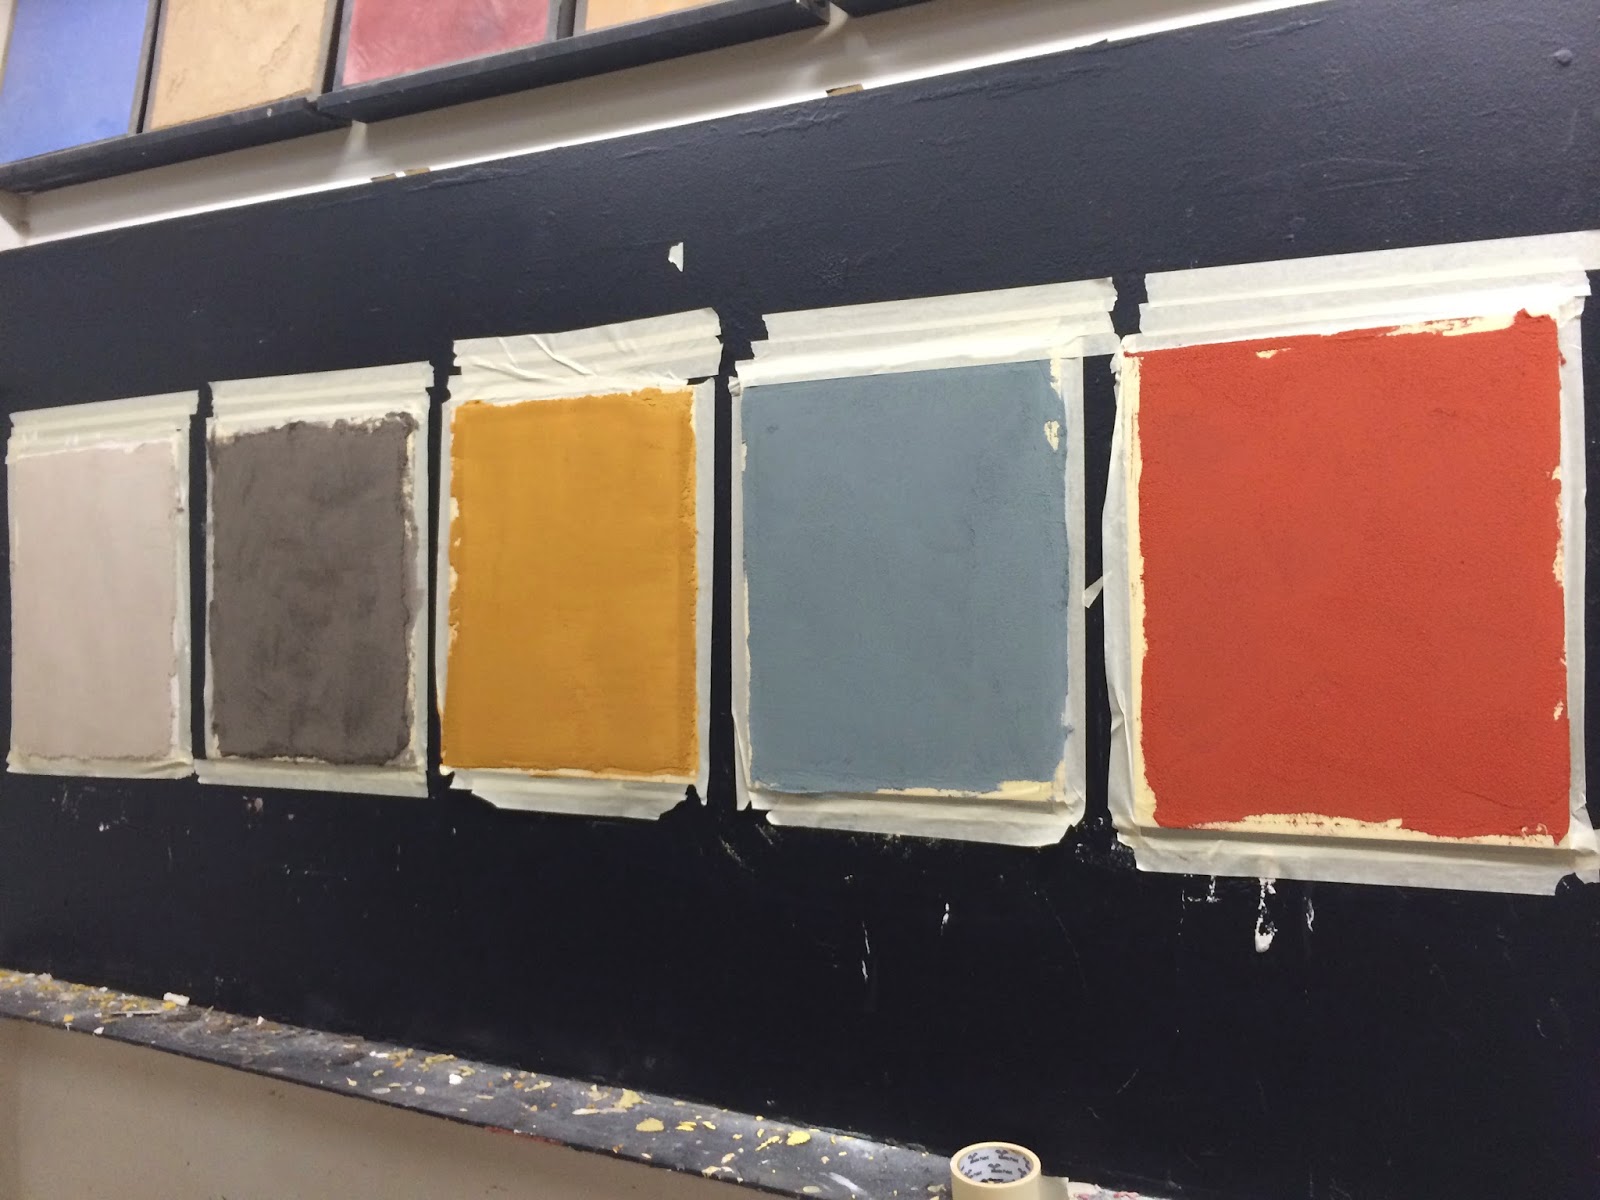
In December I went to a plaster class with Succo Italiano in Seattle to learn about some other techniques. We worked on these sample boards learning venetian plaster, tadelakt, and a course stone like plaster called Intonachino. We are using this in some rooms in our house in addition to the plaster veneer we have already learned about.

Here are some inspiration pics for Tadelakt. It's a Moroccan plaster that is sealed with olive oil soap and traditionally used in Moroccan baths. We are using this technique in our master bathroom. I am so excited!!!


Levi has been working on our doors. He build a paint station for our paint sprayer at the shop. The doors have lots of layers of paint on them. We have been sanding them down and repainting. Some of the doors will need to be stripped because there are so many layers.


I spent a couple days figuring out what to do with our library window. The lower sash was missing. We have a large collection of wood windows we have gathered from neighbors...salvage yards...whatever. I found an upper sash that was similar in size and levi helped me trim in to fit, and cut new channels for weatherstripping to become a lower sash. I reused the old copper pieces that go on the parting bead. I am pretty happy with this window!
 |
| Before- no lower sash |
 |
| Copper pieces with steel wool to inhibit air movement at the parting bead |
 |
| Copper pieces in action |
 |
| The finished product |
And because I have the pics, I have to show a before and after for one of my other old windows:
BEFORE


AFTER!!!!!!! I am so very proud of these windows. They have the original 100 year old glass and are fully functional with new brass weatherstripping. Save your windows, folks! Its hard to tell from these pics but these windows are so so so big.


Fantastic......BIG fan of the tiling. The floors are gorgeous too.
ReplyDeleteSo interesting!!! Please post more often!
ReplyDeletePs when we decide to revuild our house, I will look back at the whitewashed floor post :)
ReplyDelete